Spell Check in Excel
In this lesson, we will go over how to check the spelling of text, add words to the dictionary, and change spell-checking options. To spell check in Excel, follow the steps below.
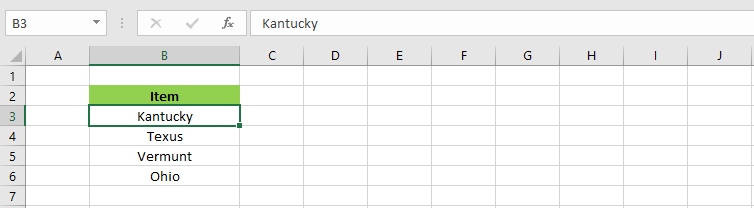
1. Open a workbook that has cells with misspelled words.
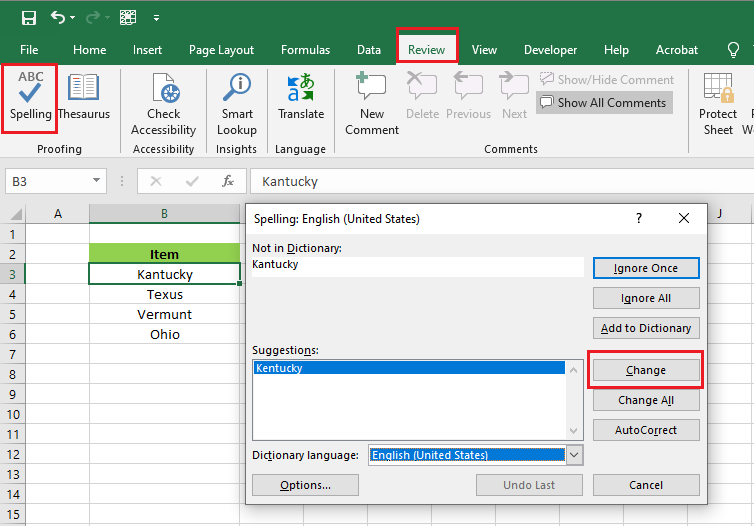
2. Click “Spelling” on the Review tab. The keyboard shortcut is F7.
3. Select a suggestion and then click “Change.” The correction will take place in cell B3.
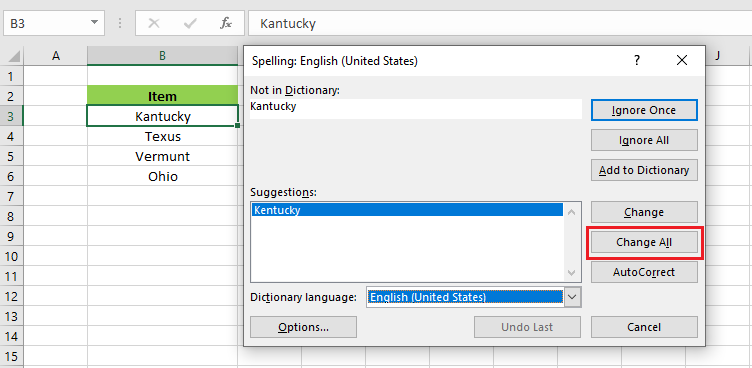
4. To correct all the misspelled words at a time, click “Change All.”
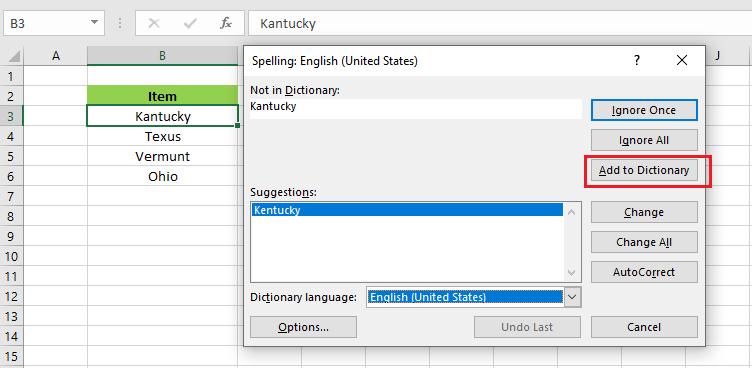
5. To add the word in the dictionary, click “Add to Dictionary.” Note that you can change the Dictionary language by clicking the drop-down list as well.
6. Similarly, you can exploit all other options in the dialog box such as Ignore Once, Ignore All, AutoCorrect, and the like.
Change Spell-checking Options
To change the setting of Excel’s proofing function, do the following.
1. Click “Options” on the File tab and then click “Proofing.”
2. Check or uncheck whatever way you like (don’t like) Excel to AutoCorrect your document.
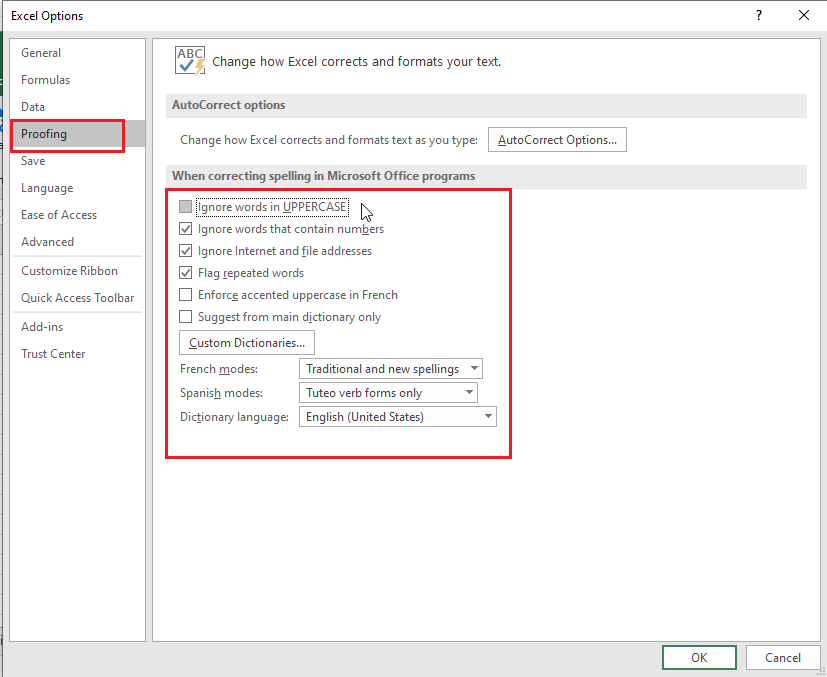
3. Once you are satisfied with the criteria, click OK.
| 9 of 9 completed! Congrats!! You can now move on to Next Chapter 05: Next Example >> |
| << Previous Example | Skip to Next Chapter 05: Formatting Cells |