Excel AutoFit
The AutoFit in Excel is done by either dragging the column border to your liking or double-clicking at the border. Let’s take a few examples and learn more about these step by step.
AutoFit Width of a Column
1. To change the width of a column, drag the right border of the column header to your liking.
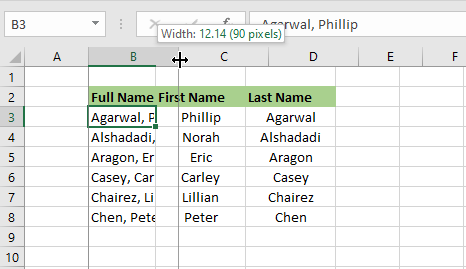
2. Double click on the right border of a column header that you like to automatically autofit.

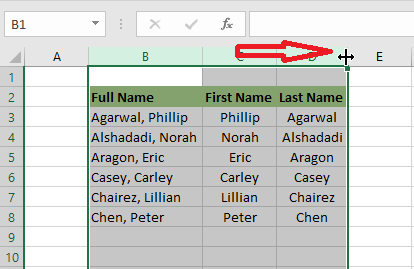
3. To autofit multiple columns at a time, first select multiple columns by their column headers.

4. Double click the right border at one of the column headers.
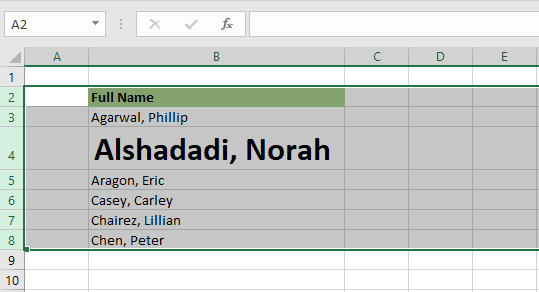
AutoFit Height of a Row
To adjust the height of a row, follow similar steps as above. Let’s take an example,
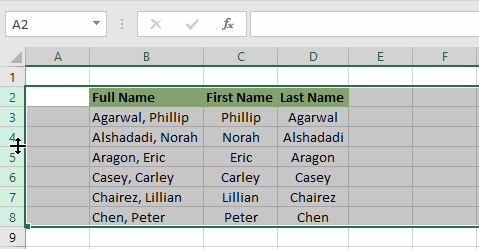
1. To autofit all row heights at the same time, select all rows by their headers.

2. Double click on any one of the row boundaries.
We can also autofit row height or column width using the Excel menu.
1. Go to the cells group on the Home tab, click Format.
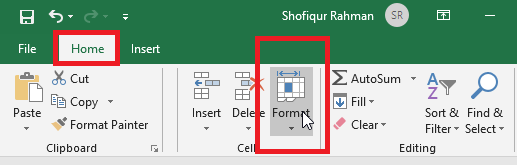
2. Click “AutoFit Row Height”.

We get the following result.
Using the techniques described above, we hope that you now can autofit any excel column width or row height the way you want.
| 6 of 12 finished! Recommending more on the Range: Next Example >> |
| << Previous Example | Skip to Next Chapter 03: Understanding Workbook |