Create a Named Range in Excel
You can create a named range in Excel by using the Formula tab command or name bar. Creating a named range will make your formula easy to understand and look professional.
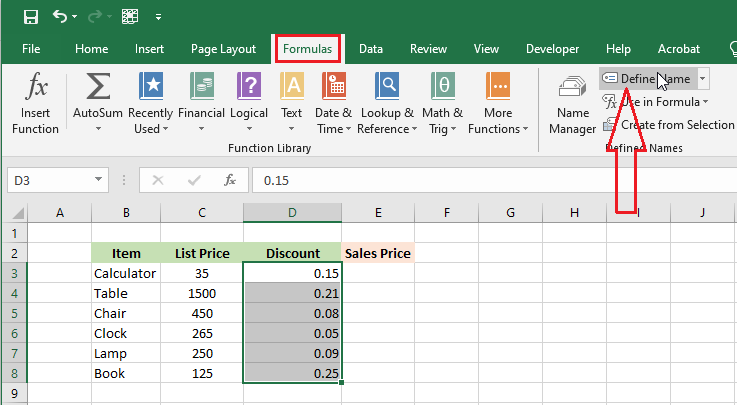
Create Named Range by Formula Tab
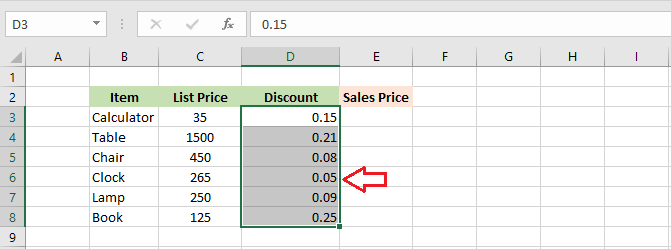
1. Select the range that you like to name. For instance, we select a range of D3:D8.
2. Click Formula -> Define Name.
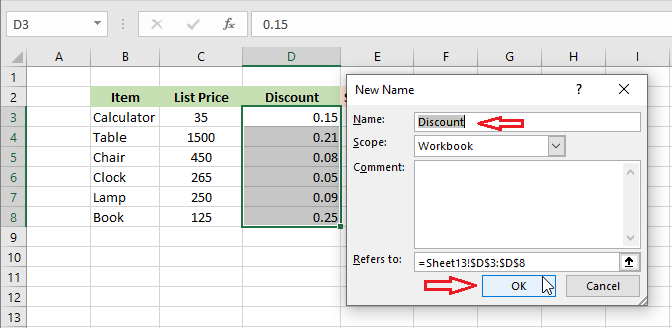
3. Enter a name and Click OK.
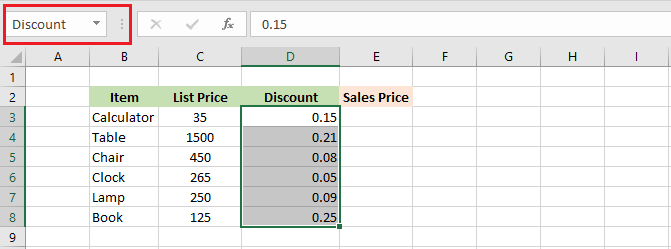
Result: Check the name in the name bar.
Create Named Range by Name Bar
This method is even easier.
1. Select the range that you like to name. For instance, we select a range of D3:D8.
2. Now type in a name in the name bar and then press Enter.
How to use Named Range
1. In cell E3, type in the following formula.
= C3*Discount
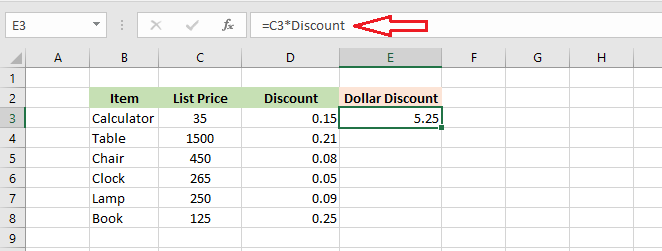
Note: The formula bar now displays the named range instead of a cell name. You can copy this formula by using the fill handle of E3 and dragging it down to cell E8.
Edit/Delete a Named Range
To edit a named range, do the following.
1. Click “Name Manager” on the Formula tab.
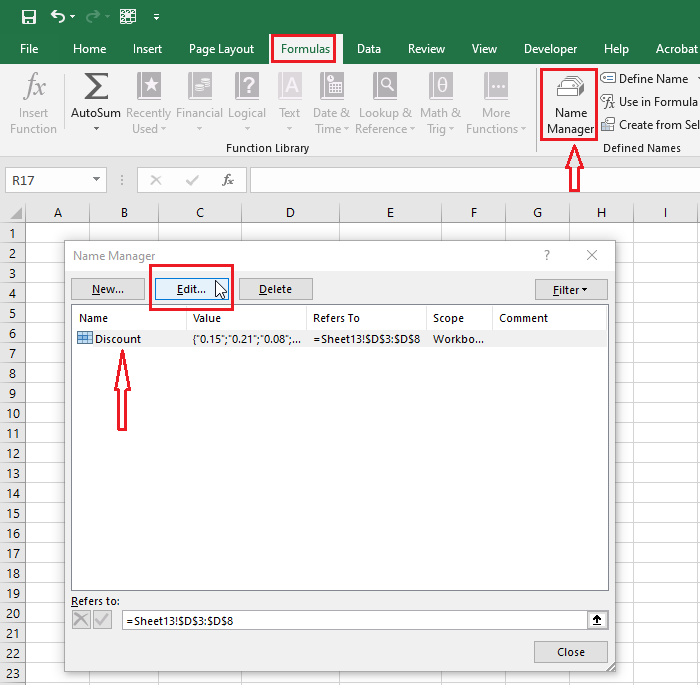
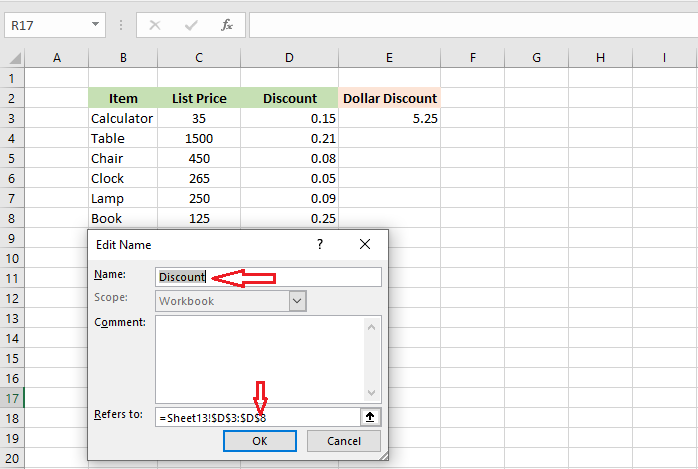
2. From the “Edit Name” dialog box, you change the name or change the range references.
3. Click OK when done.
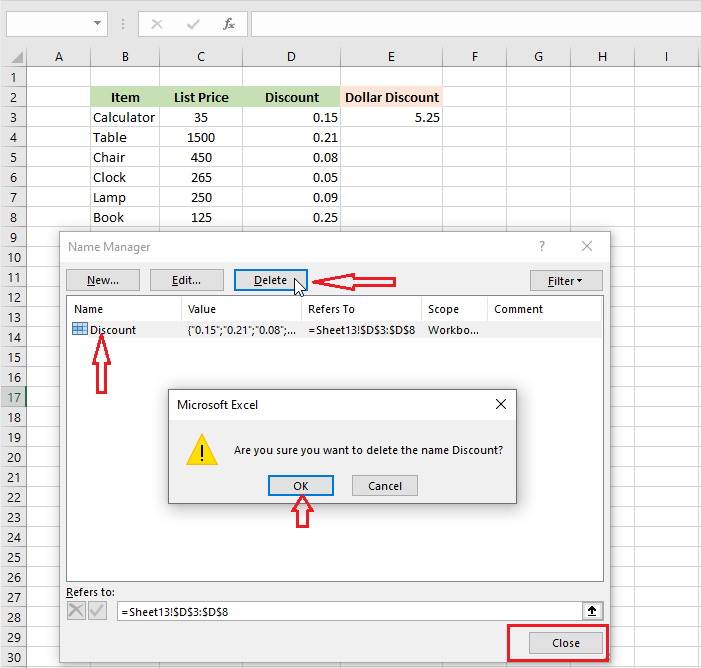
To delete a named range,
4. Click “Name Manager” on the Formula tab.
5. Select the range you want to delete, and then click the “Delete” button.
6. Microsoft Excel warns you about the deletion. Press OK.
7. Finally, click “Close” to close the Name Manager dialog box.
| 8 of 10 finished! Recommending more on Formulas and Functions: Next Example >> |
| << Previous Example | Skip to Next Chapter 07: Find and Select |