Make Workbook Read Only
Excel has a built-in option to make a workbook read only. If you want to make a read-only workbook, follow the steps below.
Note that you can still save the changes in a copy of the workbook. You can protect the sheet for better protection.
1. Open a workbook.
2. Go to File, click Save as.
3. Click on Browse.
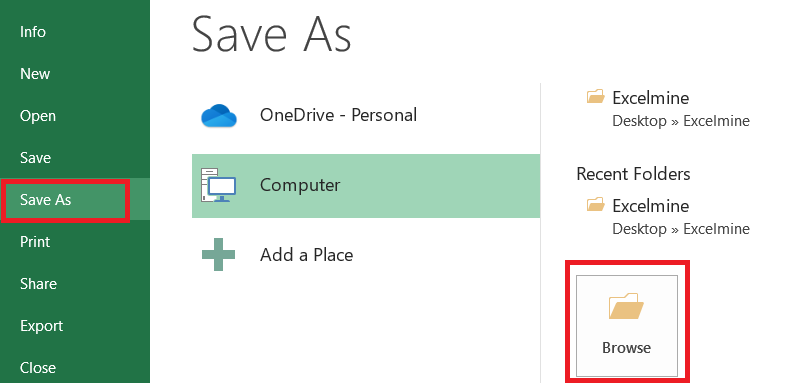
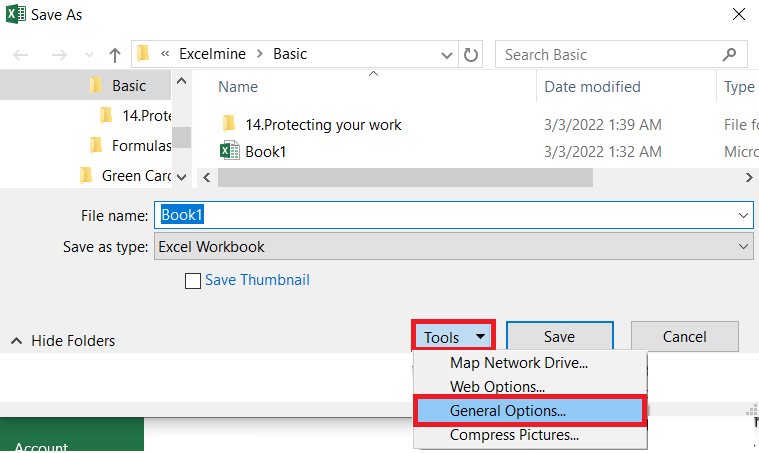
4. In the Save as dialog box, click on the Tools button and select General options.
5. Enter a password in the Password to modify the box.
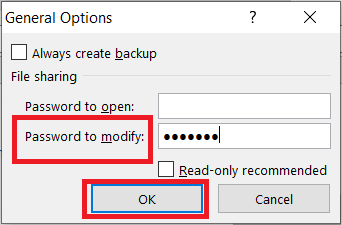
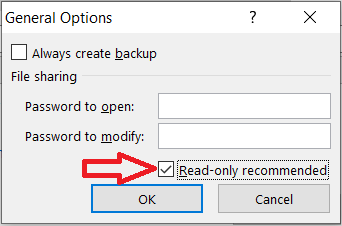
Note: if you want a read-only workbook without protection, then only check the Read-only recommended box and leave the password box empty.
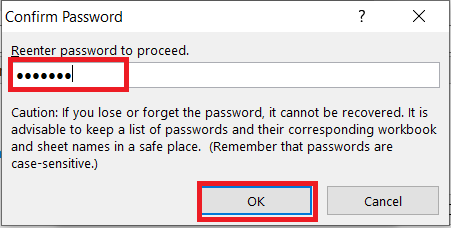
6. Reenter the password and click OK.
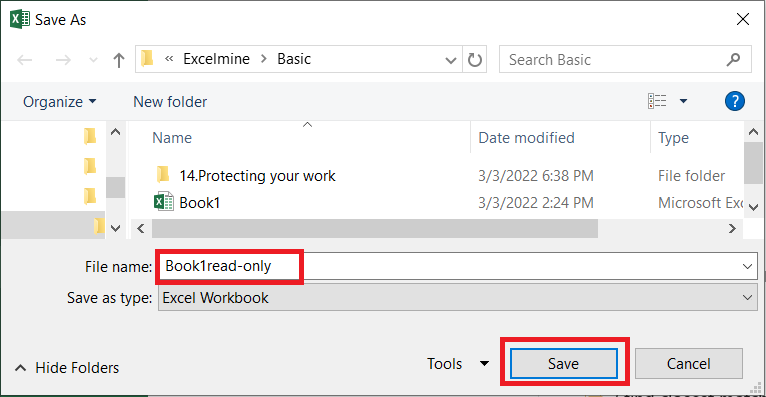
7. Now, enter a file name of your choice and click Save.
Finally, the workbook has been read-only. For your reference, we used “protect” as the password.
| 5 of 6 finished! Recommending more on Protect Excel: Next Example >> |
| << Previous Example | Skip to Next Course: Data Analysis |