Excel Range
A range in Microsoft Excel is the collection of cells. In this chapter, you will learn some commonly used range operations. To further your understanding, you are recommended to browse through a few more examples suggested at the end of this page.
Selecting Cell, Row, and Column
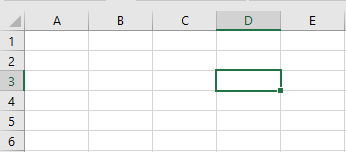
To select cell, row, and column, follow the steps below:
1. Click on the box at the intersection of column D and row 3 to select cell D3.
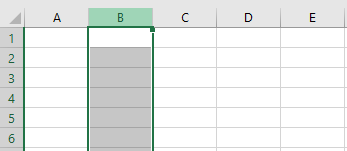
2. Click on the column B header to select column B.
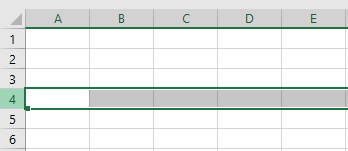
3. Click on the row 4 header to select row 4.
Range Example
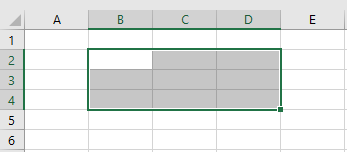
1. To select the range B2 to D4, click on cell B2 and drag your mouse to cell D4.
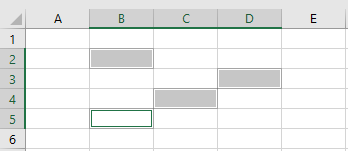
2. To select a range of individual cells, click on the cell(s) while holding down the CRTL key on your keyboard.
Filling a Range
1. Enter the value 7 in cell C2.
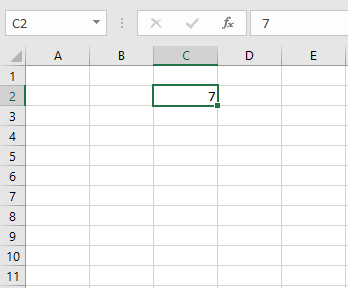
2. Select cell C2, glide your mouse pointer to the corner of cell C2. When you see the little plus sign, drag it down to cell C6.
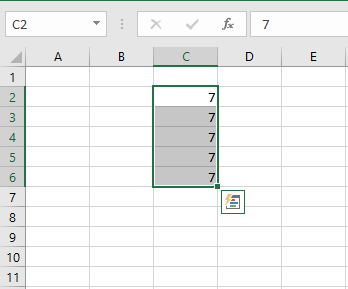
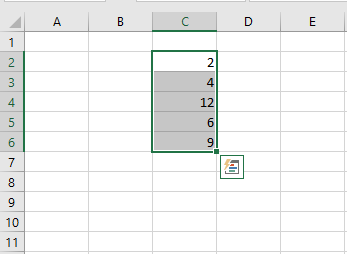
What you see is that excel automatically fills out the empty cells with the number you initially entered in cell C2. Now, you can try entering two values in two cells and, using the above technique, drag it down and find similar results. This technique works for consecutive numbers, date values, odd numbers, etc.
Moving a Range
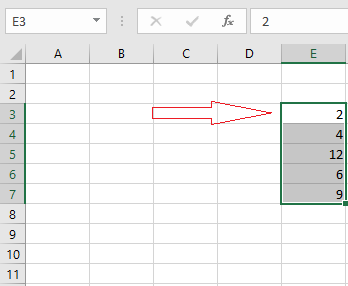
1. Select a range and glide your mouse pointer to the border of the range.
2. Drage and drop the range to the new location of your choice.
Copy and Paste a Range
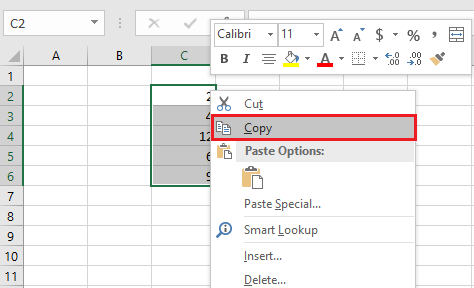
1. Select a range, right-click and click copy (keyboard shortcut: CTRL+c).
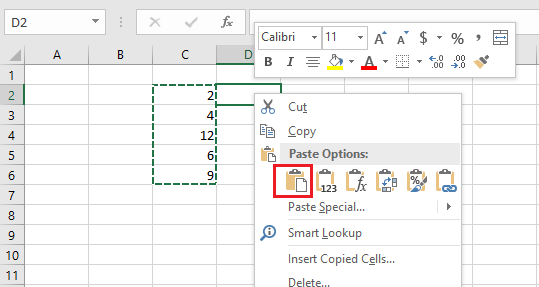
2. Click anywhere on the sheet where you want the selected range to be pasted, right-click and click paste under options (keyboard shortcut: CTRL+v).
Inserting Row and Column
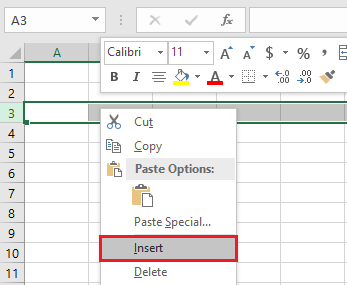
1. To insert a row between the values between 45 and 70, select row 3.
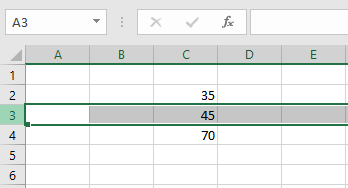
2. Right-click on the mouse and click insert.
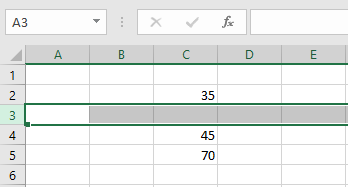
Result: A new row is inserted between 45 and 70. Using the same technique, you can insert a column wherever you want.
| 1 of 12 finished! Recommending more on the Range: Next Example >> |
| << Previous Example | Skip to Next Chapter 03: Understanding Workbook |
