Header and Footer in Excel
In this lesson, you will learn how to add header and footer information at the top and bottom of each printed page, respectively.
To insert a header, follow the steps below.
1. Click the Page Layout on the View tab.
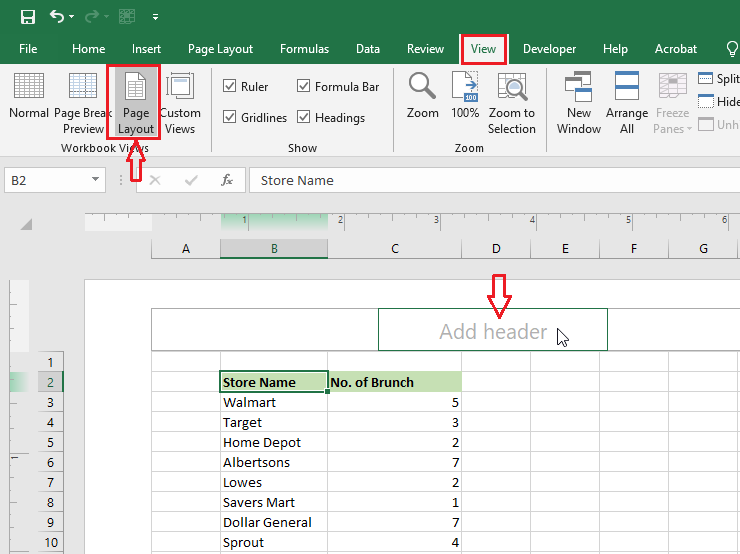
2. Click Add header and then, from the Design tab, click “Current Date”.
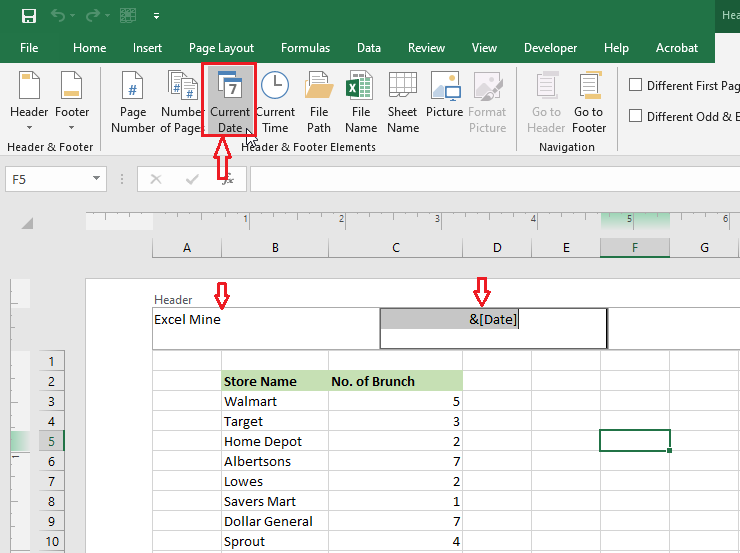
Note: Excel adds a Date variable in the header so that it can automatically update at a later time. You can also add left header information if needed.
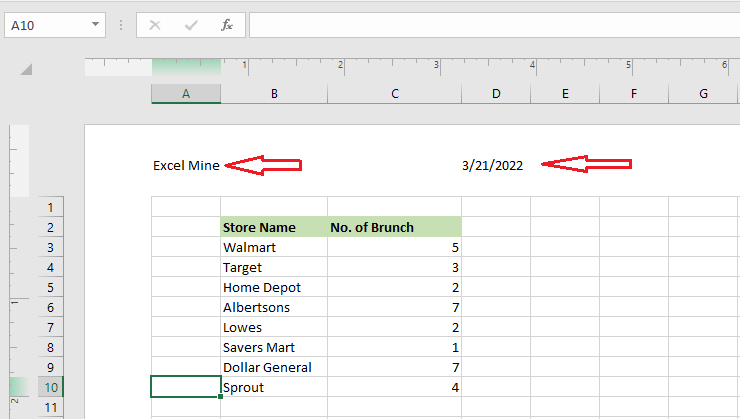
3. To see the header information, click anywhere on your worksheet.
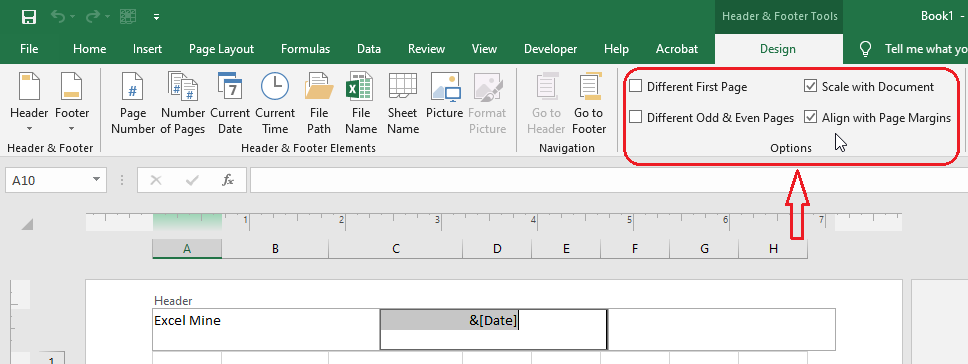
4. You can also select different headers for the first and other pages by selecting options in the Design tab.
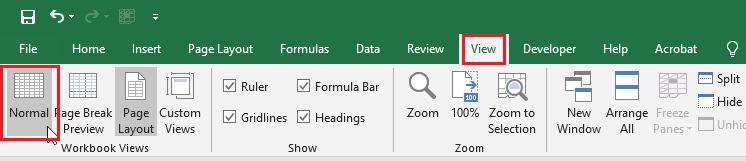
5. To bring back the normal view, click View tab -> Normal.
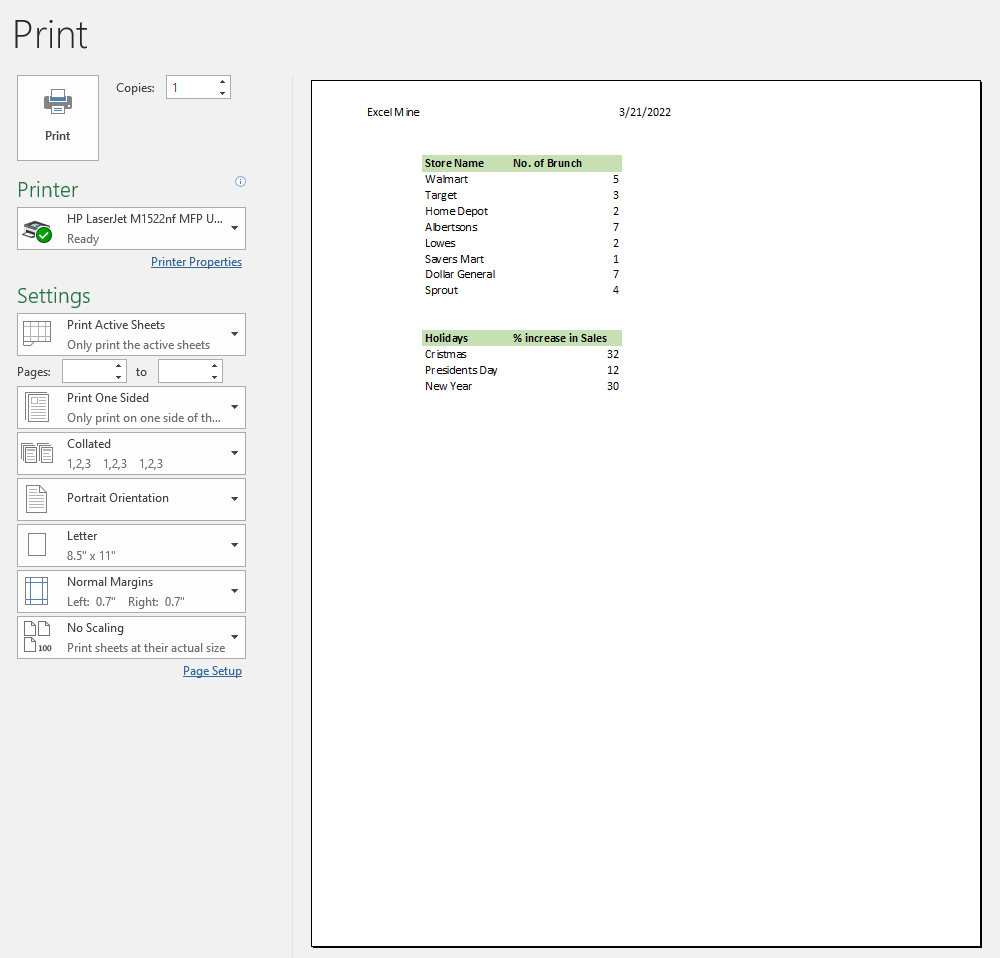
6. To see all the header and footer information in the Print preview, click File tab ->Print.
| 4 of 9 finished! Recommending more on Print Setting: Next Example >> |
| << Previous Example | Skip to Next Chapter 12: Sharing Your Work |