How to insert checkbox in Excel
The checkbox in Excel is very useful to create a checklist. In this lesson, we are going to discuss how to insert checkbox, link a checkbox, and create a checklist.
Insert a Checkbox
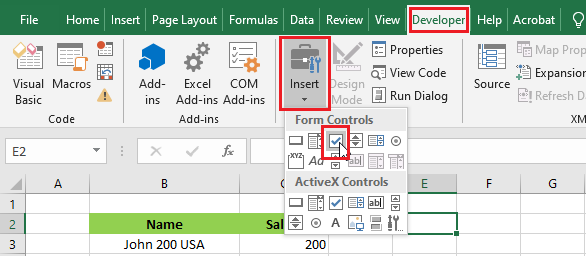
1. On your excel Developer tab, click “Insert.”
2. Click the Check Box in the Form Controls.
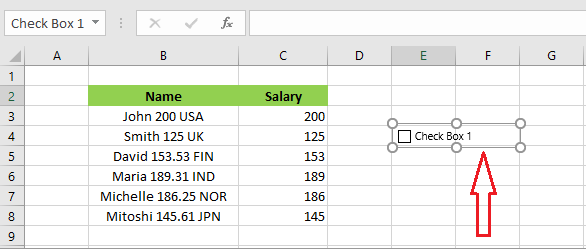
3. By pressing your mouse down and dragging it to the sides, draw a checkbox in cell E4.
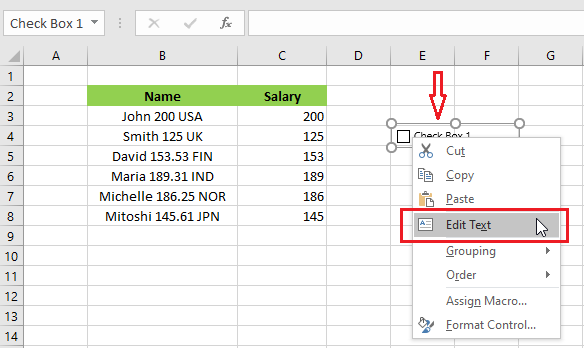
4. To edit or delete the text in the Check Box, right-click on the checkbox and then click “Edit Text.” You now can edit or delete the text.
Link a Checkbox
Below are steps to link a checkbox to a cell.
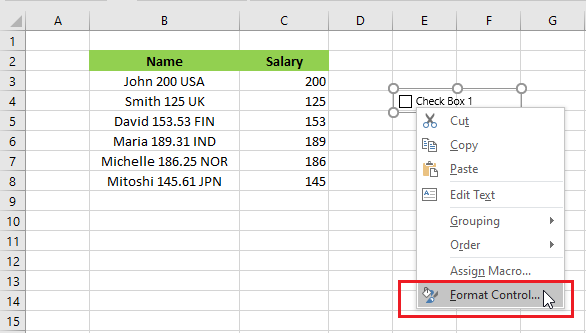
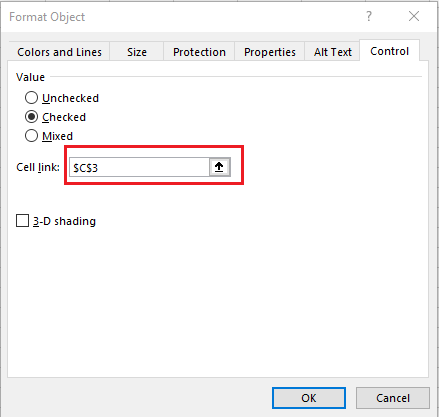
1. Right-click the checkbox and click “Format Control…”.
2. Link the checkbox to cell C3.
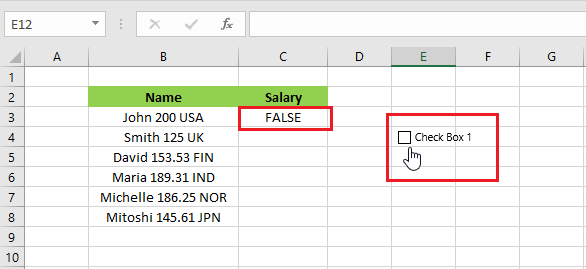
3. Now, test the checkbox. When checked it shows “TRUE” in cell C3 and when unchecked it shows “FALSE.”
Create a To-Do List
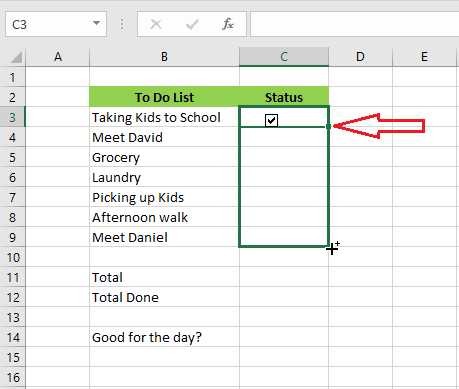
1. Draw checkbox in cell C3. Remove any text by right-clicking and renaming it (delete text).
2. Select C3 and, using the fill handle, drag it down to cell C9.
3. Right-click the first checkbox and then click “Format Control…”.
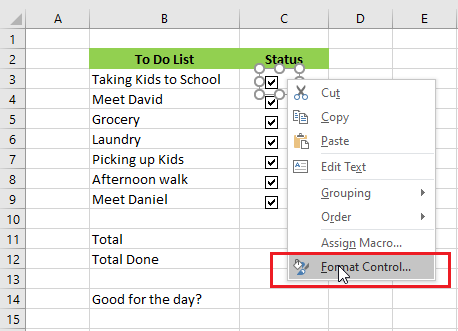
4. Link the checkbox to cell D3.
5. Repeat step 4 for six other checkboxes.
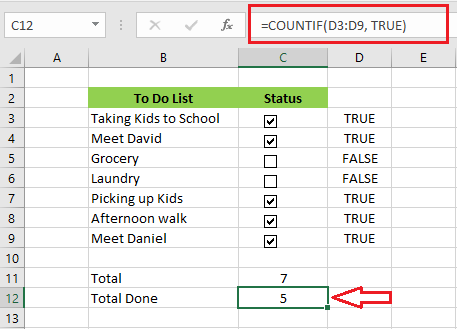
6. Insert a COUNTIF function to count the number of activities in the to-do list that are done.
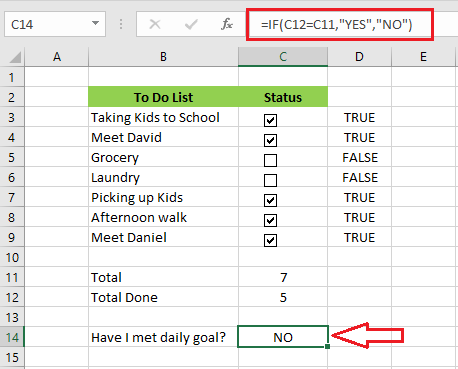
7. Let’s write another IF function in cell C14 to see if I met my daily goal.
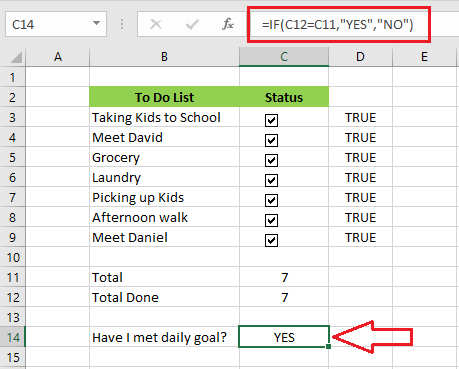
8. Check all the boxes and see what the results look like.
Note: If you want, you can hide column D to make the spreadsheet look better. You can also download the Excel file here.
| 7 of 7 completed! Congrats!! You can now move on to Chapter 02: Next Example >> |
| << Previous Example | Skip to Next Chapter 02: Using Range |