Set a Print Area in Excel
Excel prints the print area set by the user. To learn how to set a print area in Excel, follow the steps below.
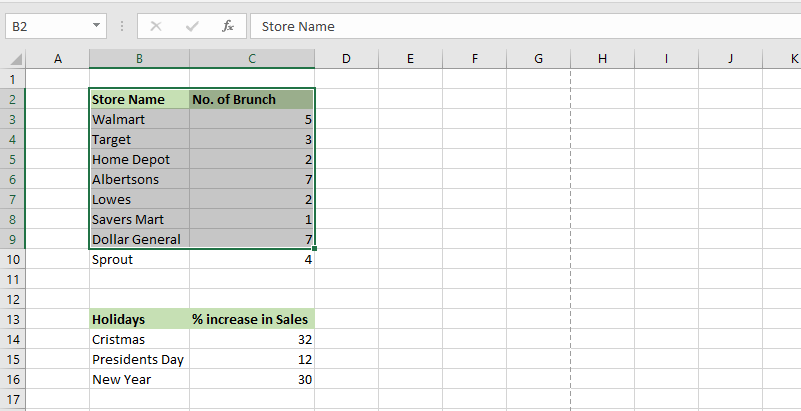
1. Select a range of cells. For instance, we select B2:C9.
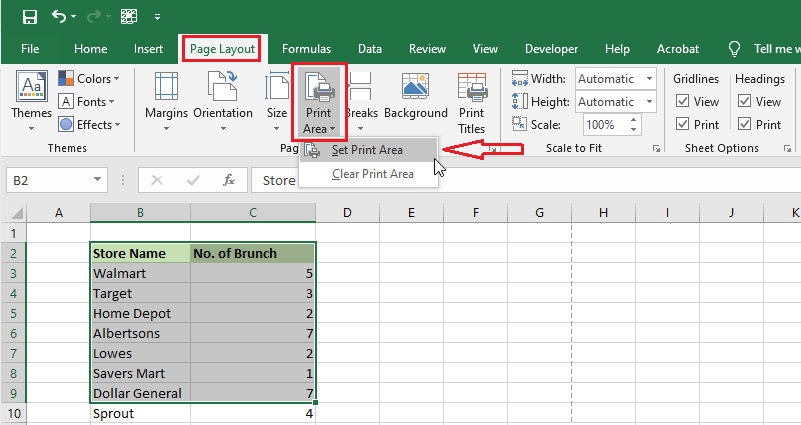
2. Click Page Layout -> Print Area -> Set Print Area.
3. Click Save to save your file.
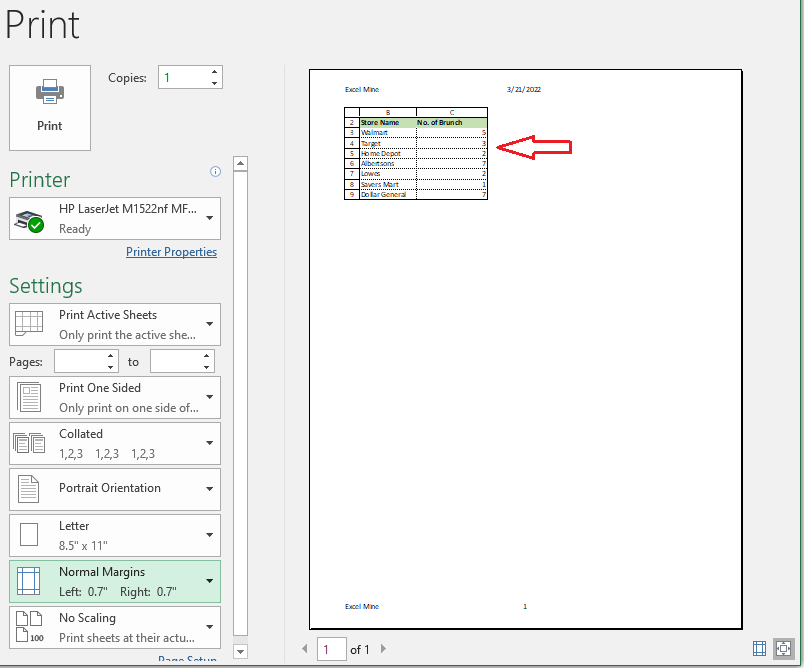
4. To see the print preview, click File tab -> Print.
To delete the Print Area, follow the steps below.
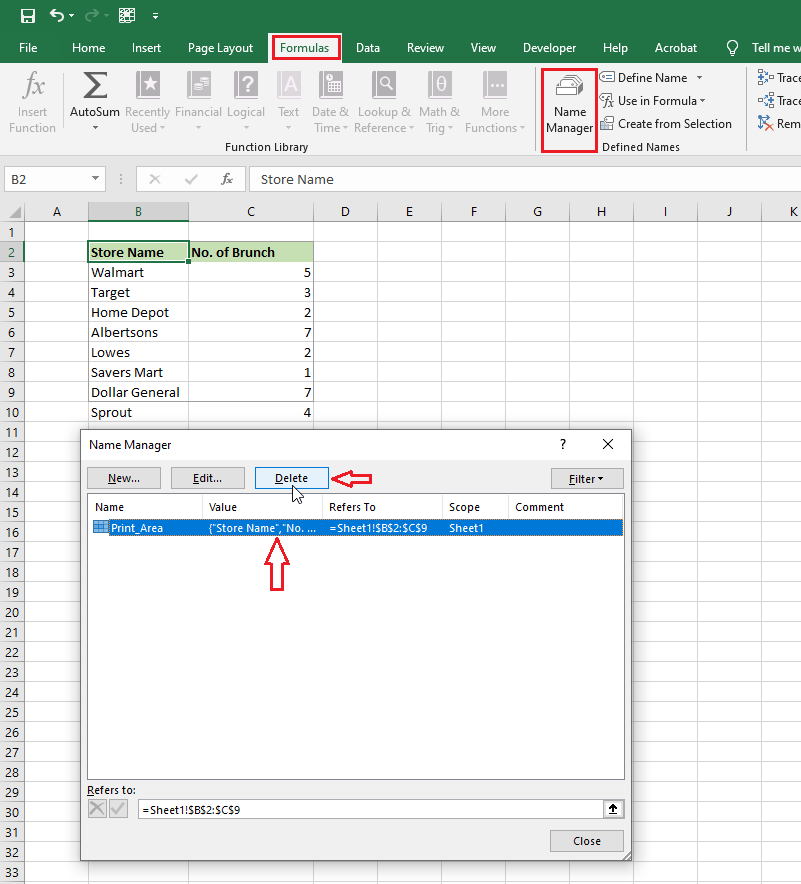
1. Click Formula tab -> Name Manager.
2. In the Name Manager dialog box, select the “print_area” you want to delete and then click the Delete button.
Note: you can now see the print preview to make sure that the print area is gone (Shortcut: CTRL+p).
| 9 of 9 Completed! Congrats! You can now move on to Next Chapter 12: Next Example >> |
| << Previous Example | Skip to Next Chapter 12: Sharing Your Work |